
This article was written for Page Builder Sandwich 5 or earlier. Page Builder Sandwich 6 is a new block builder, so some steps and screens here may differ. Getting started with version 6
Understanding Rows & Columns
Rows & columns are tools that you can use to create sectioned content.
When editing using Page Builder Sandwich from a newly created page/post, the content that you type in will all be placed in a single column. This is good for writing blog posts, but if you want to have special layouts for landing pages or contact pages, you’ll probably want a 2 column layout or even a mix of different columns across your page.
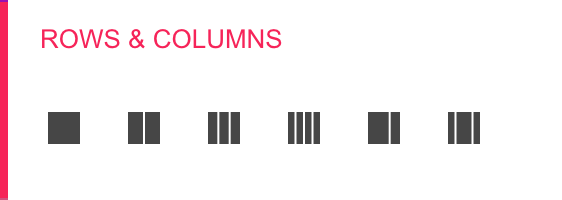
You can add rows & columns by using these buttons in the inspector:
Once added, your new row will be outlined:

You can put anything inside your rows and columns – text, shortcodes, widgets, and even add more rows & columns.
When a row (or a content inside your row) is selected, more options will become available in your inspector. You can use these buttons to further style your section:
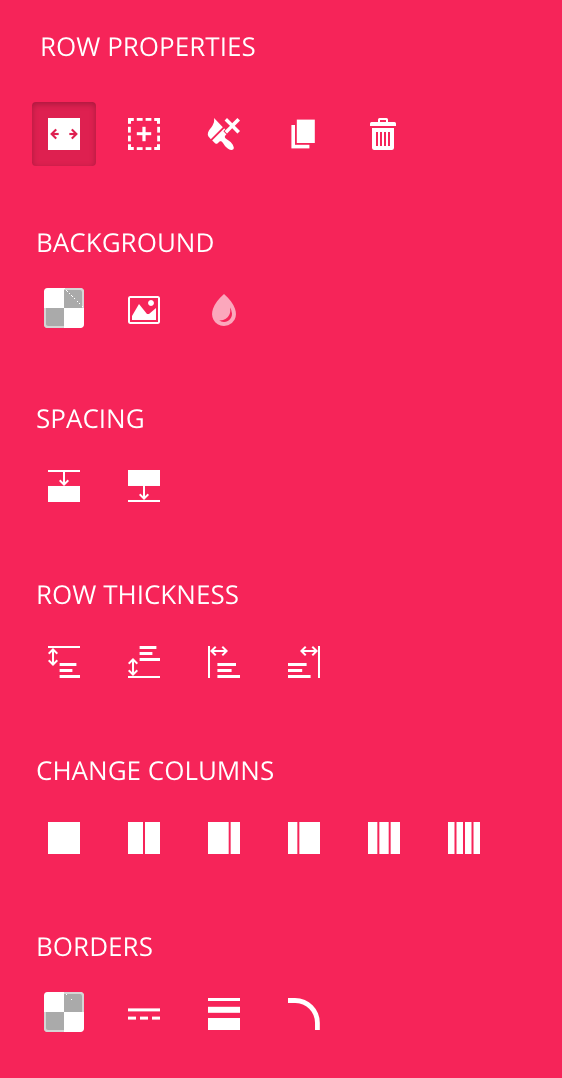
There are also additional options for styling your columns below this in the inspector.
You can move rows into different locations by clicking and holding on the row itself (if you click and hold on an element inside it, the element will be dragged and not the row).